
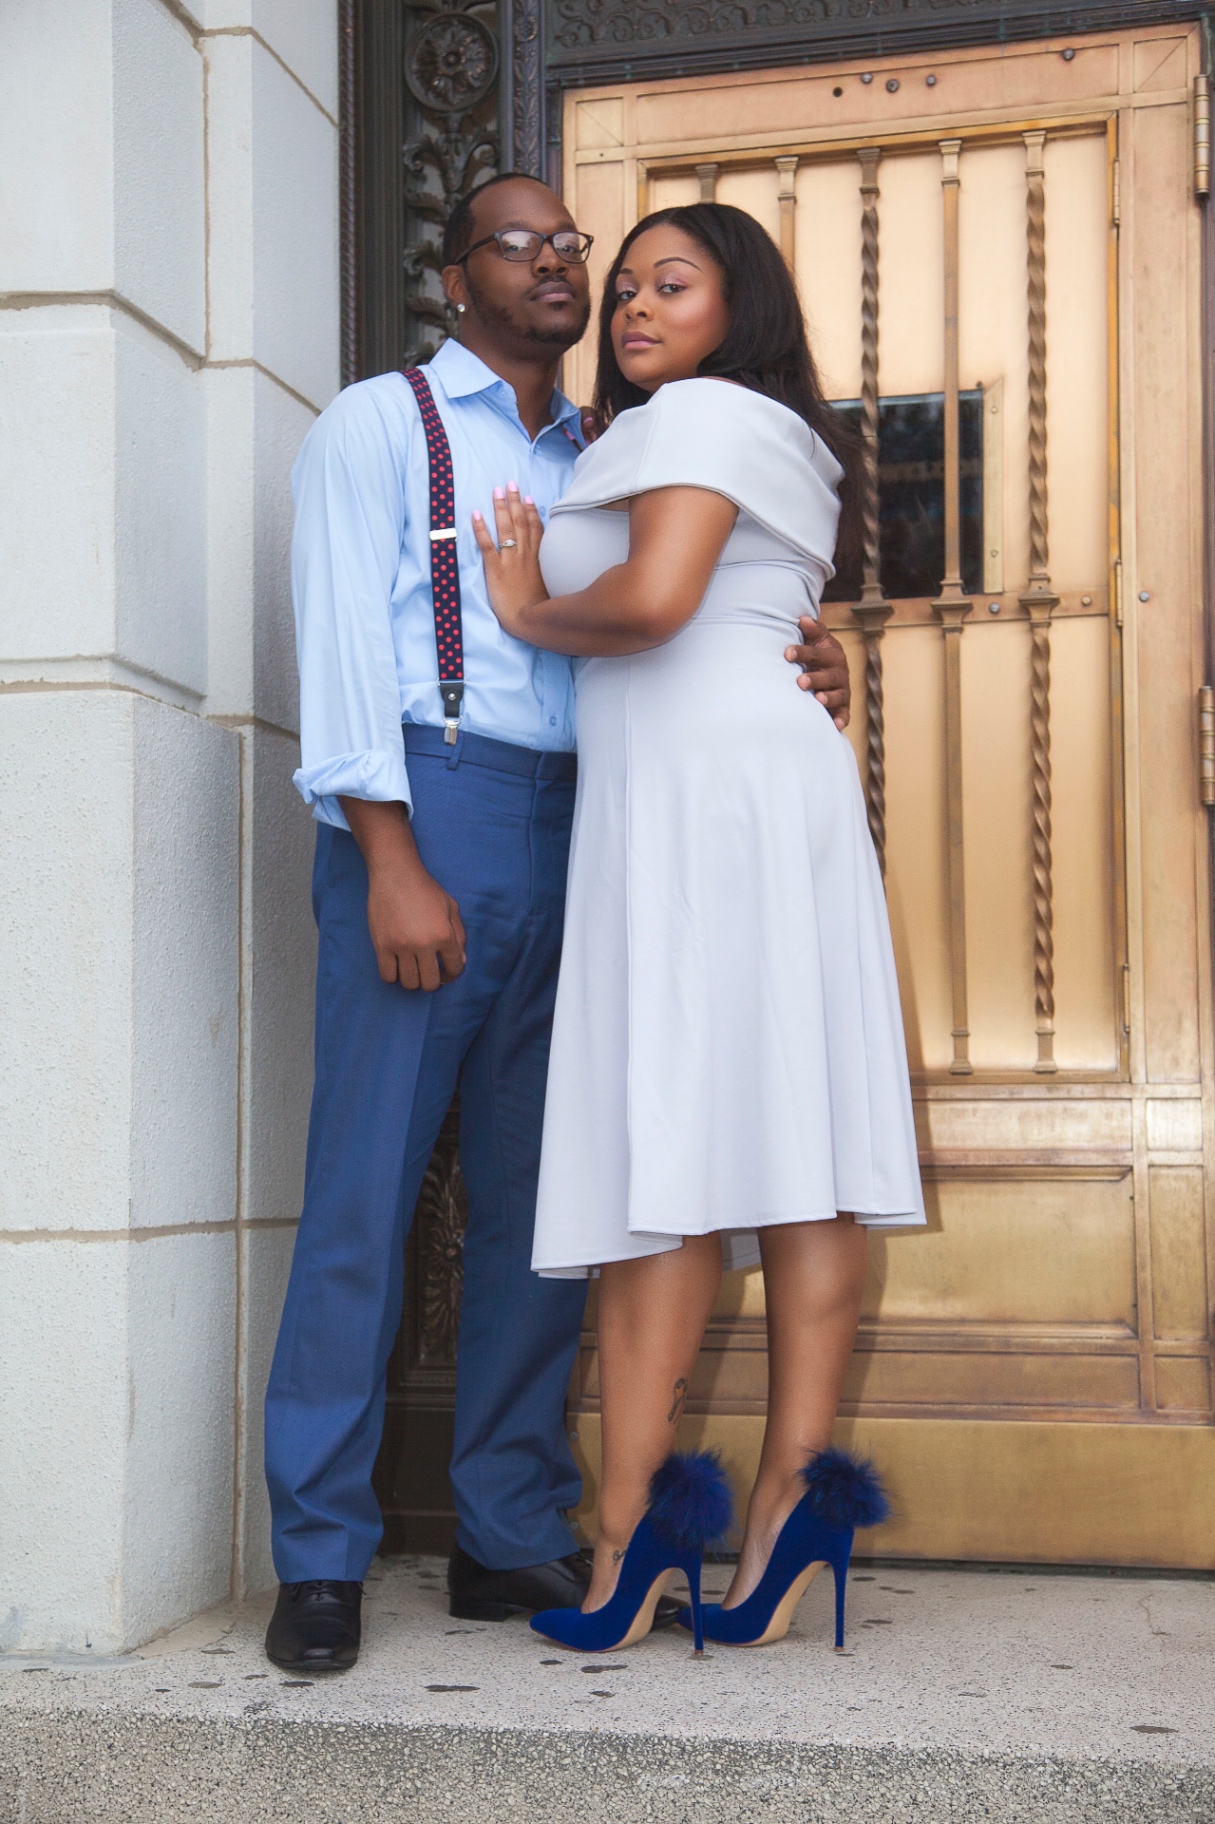
![HERO] 5 Steps to Plan Your Dream Photoshoot (Easy Guide for First-Timers)
So you’re thinking about booking your first photoshoot? That’s exciting! Whether it’s for a milestone birthday, a confidence boost, or just because you deserve to feel amazing: a professional photoshoot can be a total game-changer.
But if you’ve never done one before, the whole process might feel a little overwhelming. What do you wear? How do you pose? What even happens during a makeover shoot?
Don’t stress. We’ve got you covered. Here are five simple steps to help you plan the makeover photoshoot of your dreams: even if you’re a complete beginner.
Step 1: Define Your Vision (Get That Inspiration Board Going)
Before you book anything, take some time to figure out what you actually want. This is the fun part!
Ask yourself a few questions:
- What vibe are you going for? Glamorous? Natural? Edgy? Romantic?
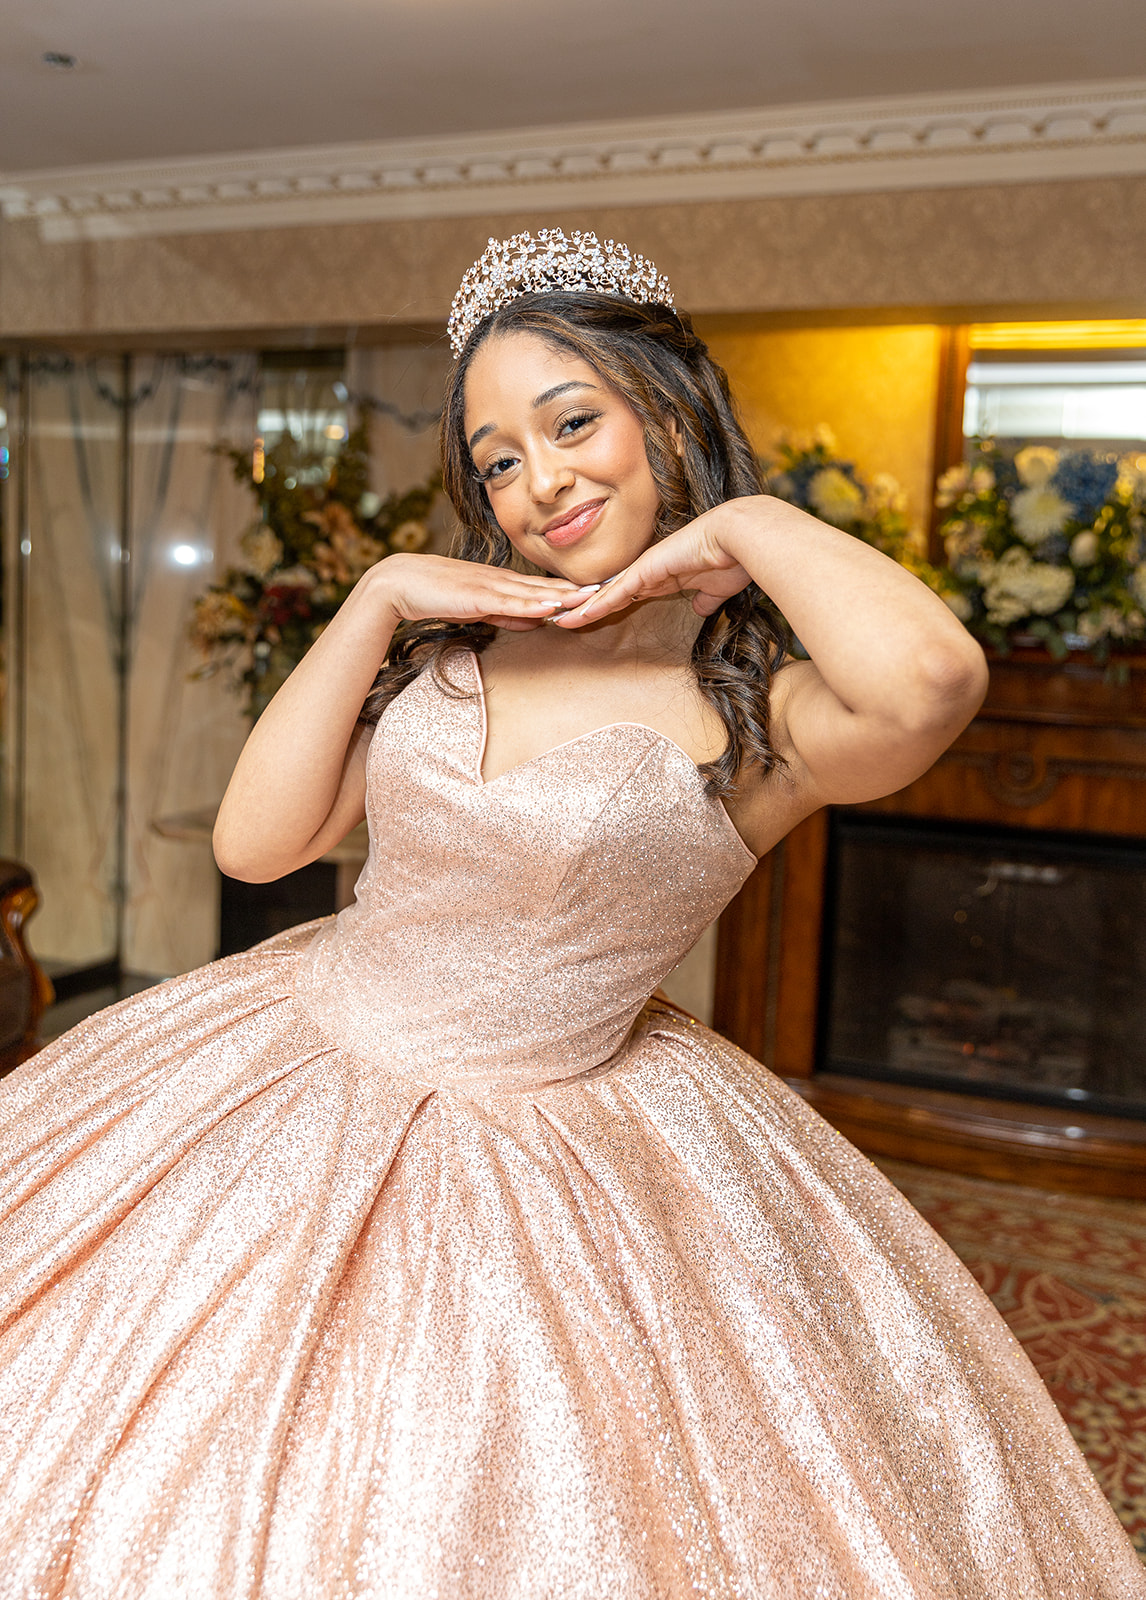
- Is this for a special occasion like a quinceañera, sweet sixteen, or engagement?
- Do you want studio shots, outdoor photos, or a mix of both?
Once you have a general idea, start collecting inspiration. Open up Pinterest or Instagram and save 15-20 images that catch your eye. Pay attention to:
- Color schemes – Do you love soft pastels or bold jewel tones?
- Lighting styles – Bright and airy or moody and dramatic?
- Poses and expressions – Playful? Serious? Candid?
- Outfits and styling – Ball gowns? Casual chic? Statement accessories?
This inspiration board becomes your visual cheat sheet. It helps you communicate your vision clearly to your photographer, makeup artist, and anyone else involved. Trust us: it makes everything smoother.
Step 2: Find the Right Photo Studio in Queens
Not all studios are created equal. You want a place that gets your vision and has the experience to bring it to life.
Here’s what to look for:
Check their portfolio. Do their previous shoots match the style you’re going for? If you want soft, elegant portraits but their work is all dark and moody, it might not be the right fit.
Read reviews. What do past clients say about their experience? Were they comfortable? Did they love their final images?
Ask about packages. Some studios offer full makeover experiences that include hair, makeup, wardrobe options, and multiple outfit changes. Others focus purely on photography. Know what you’re getting.
Location matters. A studio in Queens means less travel time and stress. Plus, local photographers often know the best nearby outdoor spots if you want to mix indoor and outdoor shots.
At Your Beauty Studios, we specialize in makeover photoshoots right here in Queens Village. We work with first-timers all the time: so if you’re nervous, we get it. Our goal is to make you feel comfortable and look incredible.
Pro tip: Book a consultation before your shoot date. This gives you a chance to meet your photographer, discuss your inspiration board, and ask any questions. It takes the mystery out of the whole experience.
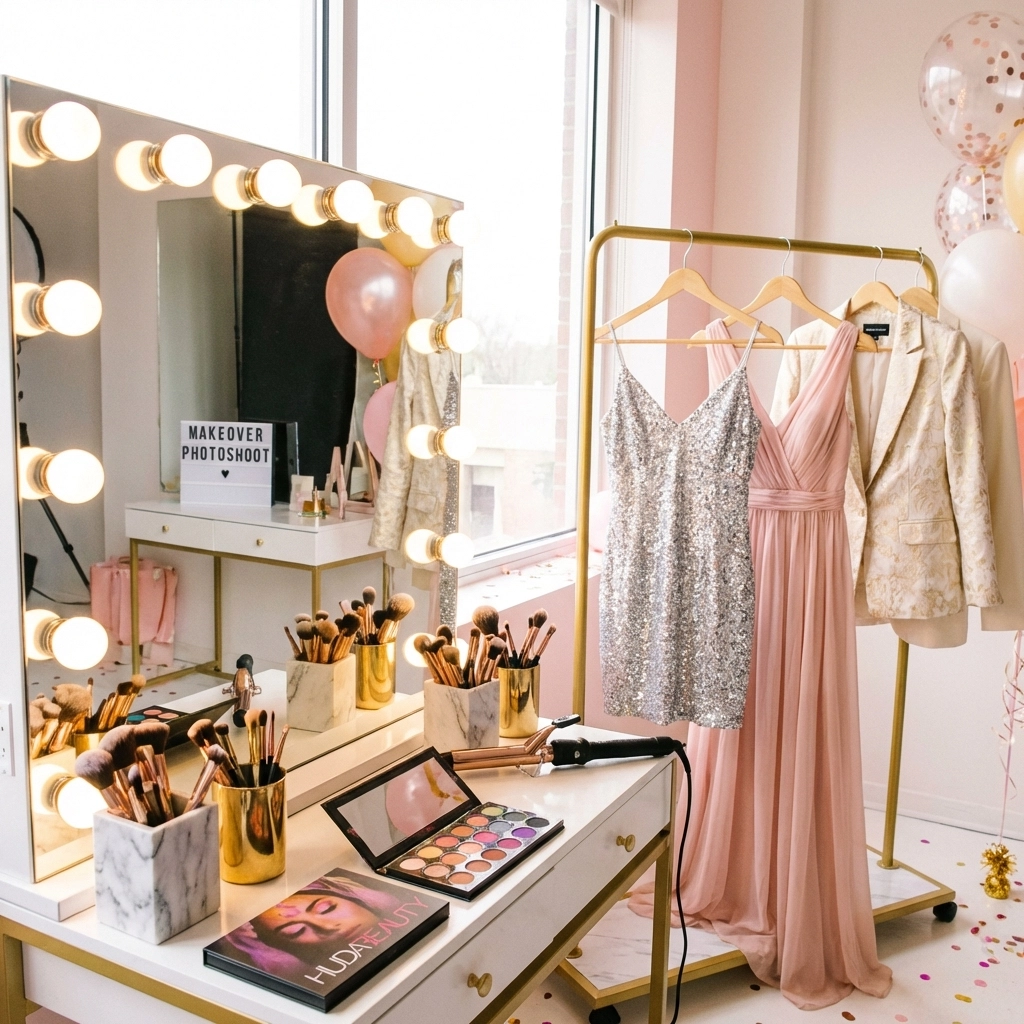
Step 3: Plan Your Hair, Makeup, and Outfits
This is where the “makeover” magic happens.
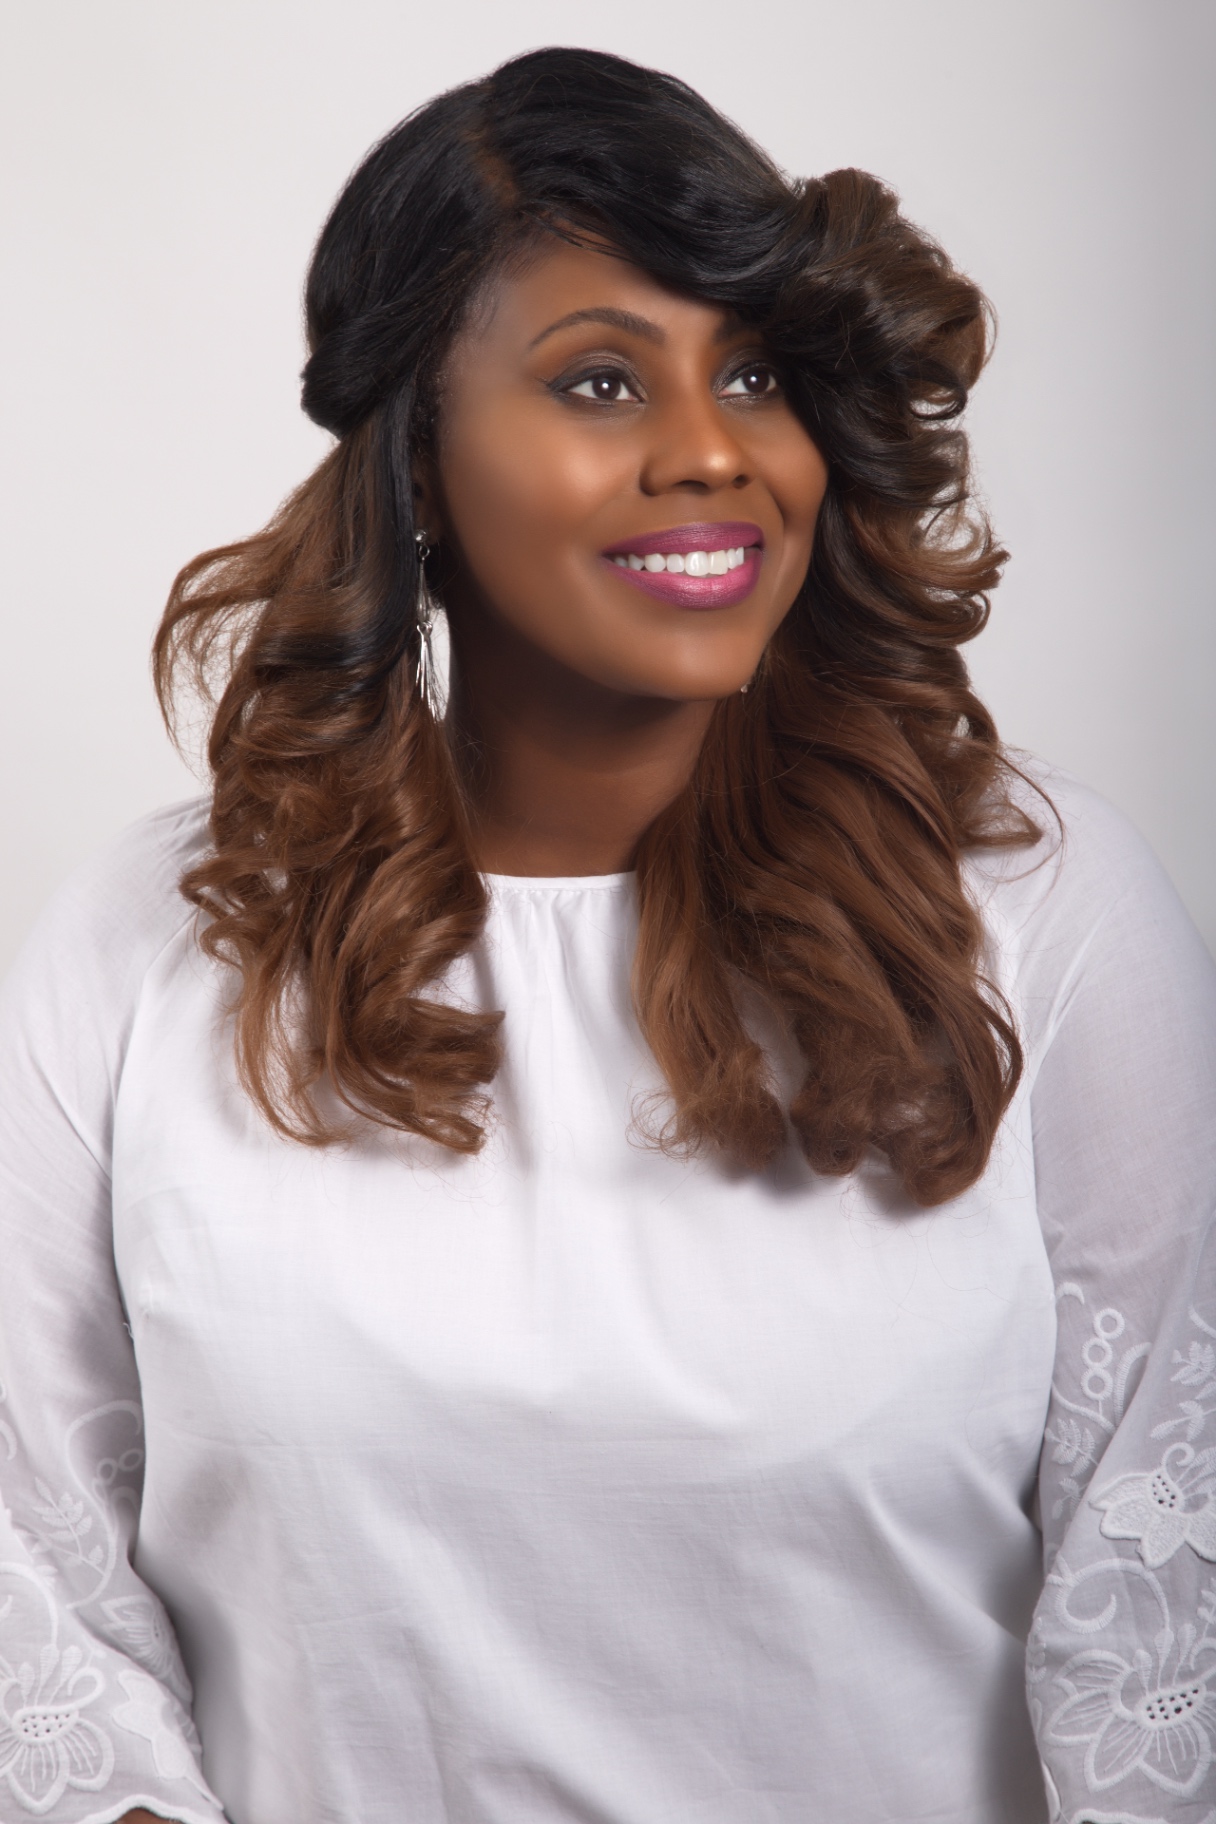
Hair and Makeup
If your package includes professional hair and makeup, you’re set. Just make sure to communicate your preferences ahead of time. Bring reference photos so your glam team knows exactly what look you’re going for.
A few things to keep in mind:
- Arrive with a clean face. Skip heavy skincare products on shoot day so makeup applies smoothly.
- Bring makeup removal supplies if you’re doing multiple looks. Switching from a dramatic smoky eye to a fresh natural look is way easier with proper supplies on hand.
- Schedule complex hairstyles first. If you want an intricate updo and then loose waves, start with the updo. It’s easier to transition to simpler styles as the shoot progresses.
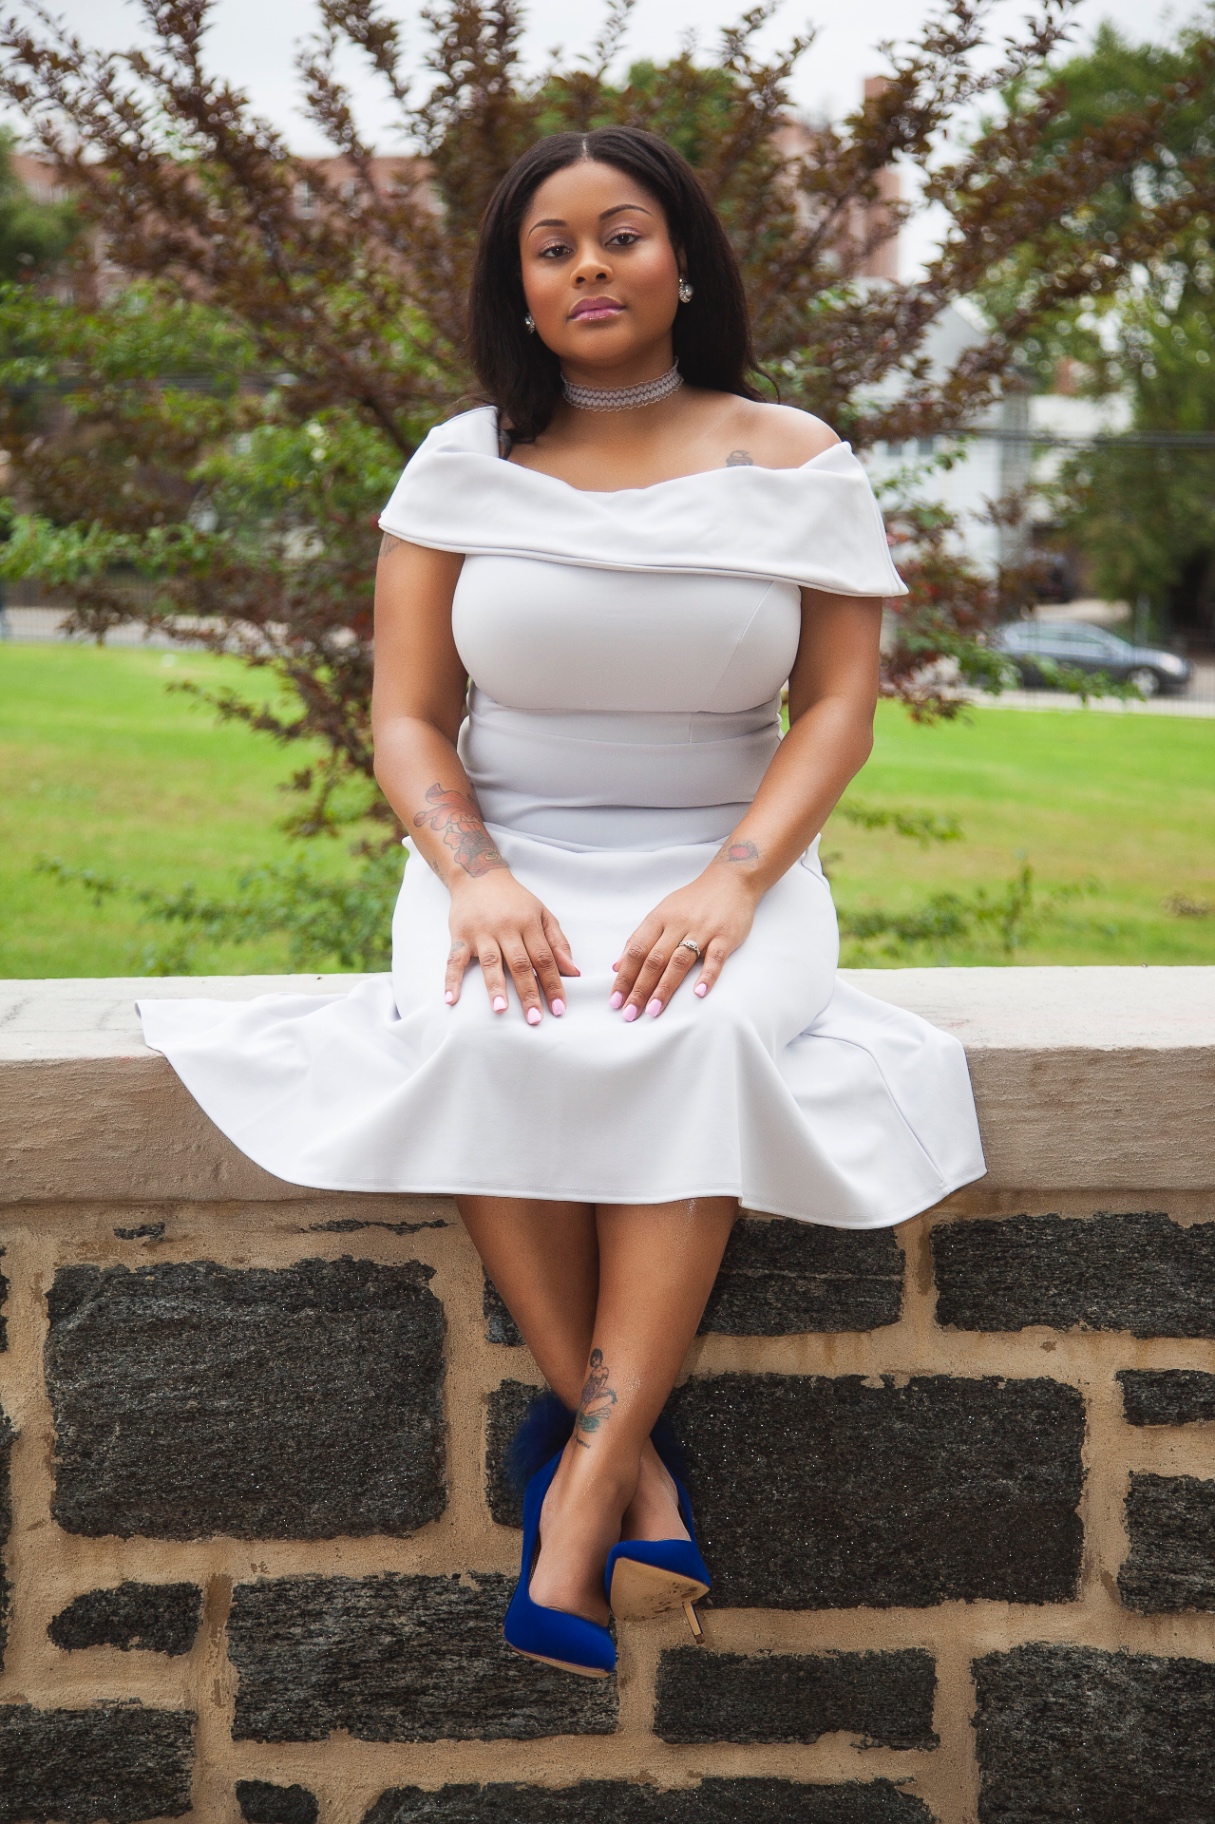
Outfits
Most shoots include at least one or two outfit changes. Think about variety:
- One elegant or formal look
- One casual or lifestyle look
- One wild card (maybe something bold, colorful, or totally different from your usual style)
Don’t forget accessories! Statement earrings, a great pair of heels, or even a fun prop can elevate your photos.
Need extra outfit options? Check out our [additional outfit add-on] browse our cosplay costume rentals if you want to try something completely different.
Step 4: Create a Timeline for the Day
A smooth photoshoot day starts with solid planning. Here’s a sample timeline to give you an idea:
| Time | Activity |
|---|---|
| 9:00 AM | Arrive at studio, settle in |
| 9:15 AM | Hair and makeup begins |
| 10:30 AM | First outfit photos |
| 11:15 AM | Outfit change + touch-ups |
| 11:30 AM | Second outfit photos |
| 12:15 PM | Final outfit change |
| 12:30 PM | Third outfit photos |
| 1:00 PM | Wrap up and preview shots |
Your actual timeline will depend on your package and how many looks you’re doing. The key is to build in buffer time. Rushing kills the vibe.
A few more tips:
- Get plenty of sleep the night before. Puffy eyes and tired skin don’t photograph well. Rest up!
- Eat a proper meal beforehand. You’ll need energy, and hunger can make you feel cranky or unfocused.
- Plan your travel. Know exactly how you’re getting to the studio and leave early. Nothing derails a shoot like showing up stressed and late.
If you’re shooting at multiple locations (studio plus outdoor), factor in travel time. And always have a backup plan in case the weather doesn’t cooperate.
Step 5: Practice Poses and Get Ready to Shine
Here’s a secret: even professional models practice their poses. So don’t feel weird about doing some mirror work before your shoot.
Find Your Angles
Spend some time in front of a mirror or your phone camera. Try different:
- Head tilts
- Hand placements
- Body angles
- Facial expressions
Notice what feels natural and what looks good. Everyone has their “good side”: find yours.
Build a Pose Reference Sheet
Remember that inspiration board from Step 1? Go back through it and pick out 3-5 poses you want to recreate. Save them to your phone or print them out. Having references on hand during your shoot takes the pressure off. When you’re not sure what to do next, just pull up your sheet.
Develop a Signature Pose
This is your go-to move when all else fails. Maybe it’s a confident hand-on-hip stance or a soft over-the-shoulder glance. Practice it until it feels second nature.
Relax and Trust the Process
Here’s the thing: your photographer is there to guide you. A good photographer will direct you through poses, adjust your positioning, and capture you at your best angles. You don’t have to figure it all out yourself.
The most important thing? Have fun with it. When you’re relaxed and enjoying the experience, it shows in your photos. Stiff and nervous? That shows too.
Ready to Book Your First Makeover Photoshoot?
Planning your first makeover photoshoot doesn’t have to be complicated. Define your vision, find the right studio, plan your looks, create a timeline, and practice those poses. That’s it. Five steps.
The rest? Leave it to the professionals.
If you’re in Queens and ready to start planning, we’d love to help you create something beautiful. Reach out to us to chat about your dream shoot: we’ll take it from there.
Your story starts here. Let’s make it stunning.

![[HERO] 5 Steps to Plan Your Dream Photoshoot (Easy Guide for First-Timers)](https://cdn.marblism.com/foYdeIPD0i3.webp)